Vintage Style Without the Price Tag
Vintage Style Without the Price Tag
By Jess Galvan, Local Artist, Creator & Goodwill Revamp Vamp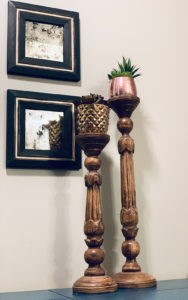
When my husband asked me what today’s project was, my answer was “cool, fun, house mirrors.” He heard “cool funhouse mirrors.” Just so you know, what I had in my head and what he had in his head were two very different things.
I’ve made quite a few of these over the past two years, and I’m still as obsessed today as I was with my first. Like so many projects, it started with shopping online and seeing an exquisite acid-aged vintage-look mirror that I thought I needed on an expensive shopping site. Until I saw the price and — yep, you guessed it — I didn’t need that mirror anymore!
What I did need was the mirror I had in storage, some paint stripper, and some time.
I was gifted a couple small mirrors recently, so they were perfect to do a small-scale project.
Supply List
- Mirror(s)
- Paint stripper
TIP: Be specific when asking for this at the store. Use ALL the words here. Trust me — just because you’re at the hardware store doesn’t mean you can tell them you need a good stripper that won’t hurt your kids. Things get weird fast. I mean, I bet they would if you did that.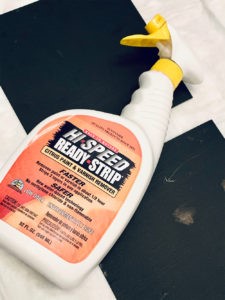
- Steel wool
- Rubber gloves
- Plastic wrap
- Old towels for cleanup
- Paint for mirror frame
- Paper, fabric, or paint for back of mirror
- Wax or clearcoat for mirror frame, if painted
If you don’t have a mirror on hand, don’t worry; we all know someone who has at least one extra. We also all probably know someone who had a home full of oak-framed mirrors from the days of ordering your wall décor from a party at your aunt’s best friend’s house. If you still don’t have a mirror, you know the drill: GOODWILL HUNTING!
Directions
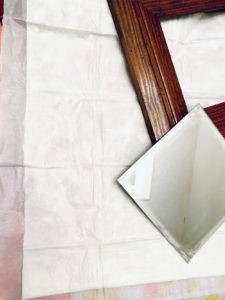
- Start with the mirror’s reflective side down on a protected surface.
 TIP: For my “protected surface,” I use puppy potty-training pads. I did this once when I didn’t have a towel I was willing to ruin, then I realized these things are awesome! They absorb and have plastic on the bottom to protect your surfaces.
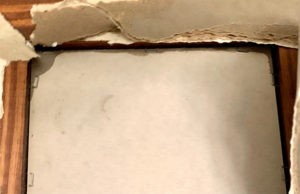
- Remove the mirror backing. Sometimes it’s simply paper, other times it’s particle board full of staples.
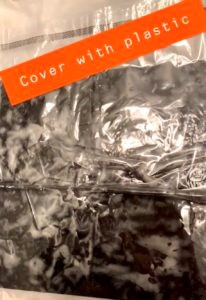
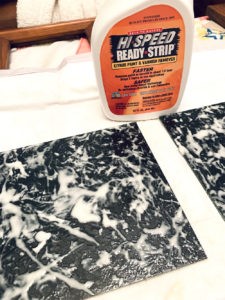
- Spray the back of the mirror generously with paint stripper. Even though I’m using a paint stripper that’s “safe for my kids,” I still ventilate the area. Please follow the manufacturer’s recommendations. Spraying heavier in some spots than others is fine. The randomness in the pattern is what makes each mirror original. After you’ve thoroughly coated the back, cover it in plastic wrap. (For today’s project, you can see my microwave baked potato bags in place of actual plastic wrap because … well, because I forgot I didn’t have any plastic wrap.)
- Let sit for 45 minutes to an hour. I let mine sit for about 1.5 hours.
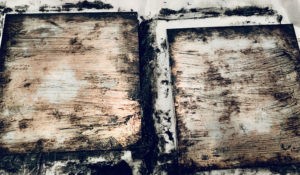
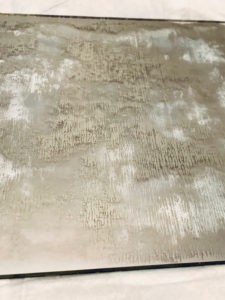
- Remove plastic, and, using steel wool, scrub the backing until you start to see the mirrored finish show. Then, in some areas use a bit more elbow grease and scrub a bit harder to get the areas cleaned down to just the clear glass.
Shoot, I think I forgot to say put your gloves on before you start. PUT YOUR GLOVES ON.
- Dampen old towels or cloths and wipe away all the softened and scrubbed mirror backing.
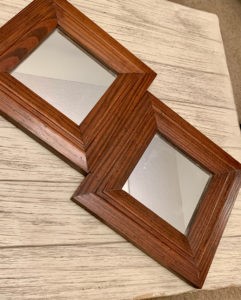
- Paint the mirror’s frame.
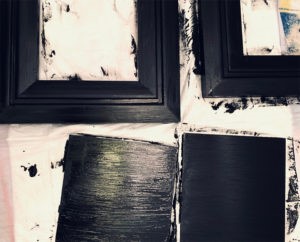
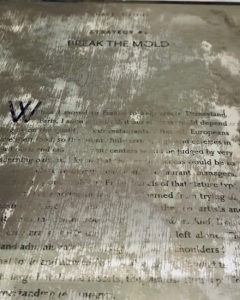
- At this point, the options for what direction to go with these are endless — really! I painted the back of these mirrors black at the same time I painted my frames. But I took a photo of a book page behind the stripped mirror, and an example of white behind it as well. You can use floral fabrics, sports team logos, solid paint to look aged, book pages, wedding invitations, photos. I tried to tell you — endless.
I wanted mine to simply look aged so I went with the black paint.
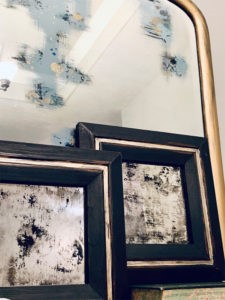
The photo with the mirror with blue paint is one of the first ones I did, and it seems fitting to include a picture with that one in there!
If you try this project or have ideas or requests for future projects, please use the form below to let me know!
Instagram: jessgalvan8
TikTok: @jessgalvan8
Facebook: Jessica Galvan